After installing Windows 7 on my shining new PC(> 4 Ghz!) , i imported from WMP 11 all the songs and it totalled around 4 GB and everytime i ran Windows Media Player 12 , I had an 100 % CPU usage , opening task manager , I found that wmplayer.exe and audiodg.exe were taking 50 - 50 processor usage, looking into the problem and browsing into a lot f forums , I found the answer.
Fixing Audiodg.exe high CPU
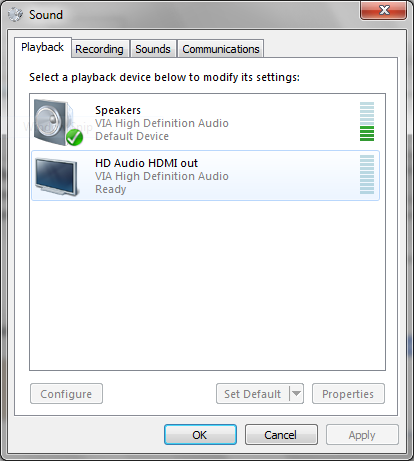
Right click the speaker icon on the task bar and select playback devices.
In the enhancements tab, check Disable all enhancements and after a reboot , audiodg.exe cpu usage will go down.
Fixing WMP 12 high CPU usage.
So, the solution? There seems to be quite a few suggestions. Take this URL for instance, it’s from the Microsoft forums. The tech guys in there suggest disabling a lot of things, or even tell you that your installation is simply badly done so you should reinstall everything. Hell, some even tell you to not have your media on places like Music, Videos and Pictures, but why would we want to do that as a workaround in the first place? Those suggestions are terrible.
My solution, though a workaround still, is a bit less “user friendly”, but it’s a permanent one for as long as your installation stays the same. It involves tweaking a file that seems to be holding the Library data. When this file is locked to not receive data (read-only), WMP stops trying to fill it, and therefor stops to try to index your media. The file in question is called “CurrentDatabase_372.wmdb“, which might be named differently on your system, and is allocated at “C:\Users\[Your Username]\AppData\Local\Microsoft\Media Player” for users on Windows 7 and Windows Vista.
All you gotta do is find it via Windows Explorer, then right click on the file, then choose Properties, and then change the attribute “Read-Only” by marking the checkbox, followed by Apply or OK. I recommend that you either backup the file or delete it and then replace it with a dummy with 0 bytes on it (such as an empty text file by creating a new one in the same directory). Obviously, you should do this when both wmplayer.exe and wmpnetwk.exe are closed. To do this, just goto the Windows Task Manager, then Processes and kill both of them.
The inconvenience? Well, by doing this you’re completely disabling the Media Library for Windows Media Player, and while this may seem like a bad trade-off, for those of us that really do not have a use for it, it’s a completely harmless sacrifice. The Library won’t be able to receive any changes unless you go to that directory and revert the changes so the file is no longer Read-Only.
Also, if this seems like a bad solution for you cause you want to keep your Media Library, you should check the state of your files. The lockout suffered by either of these processes reflects an issue with your media, which doesn’t necessarily mean you’re doing anything explicitly wrong, it’s just that WMP is very tricky when it finds something it doesn’t like. This often happens when you hold mp3s in your Music directory, that were encoded by some of the newest (or perhaps strangest) encoders of late, which again it doesn’t mean they’re bad, it’s just that they may be using instructions that WMP doesn’t recognize.
Anyway, hope you find this solution useful. If you got any questions, feel free to drop a comment.
0 comments:
Post a Comment